Spring is here in the northern hemisphere, and with it, Raspberries! Seems like an ideal time to talk about how you run Bytewax on a Raspberry Pi?
This blog post is a result of a recent hackday at Bytewax. We have a hackday every month where we try out something that has been swirling around in our heads and hasn't had a chance to get on paper/machine.
We often get users in the community talking about their edge use cases and how they ended up using Bytewax because they couldn't run Flink on their edge device. It's the reason we have ARMv8 and v7 builds which were initially requested by the community. I've met with people building really interesting things with Bytewax from a personal project to track gliders via Open Glider Network all the way to calculating real-time KPIs from ship telemetry in the middle of the alantic like Nortech.
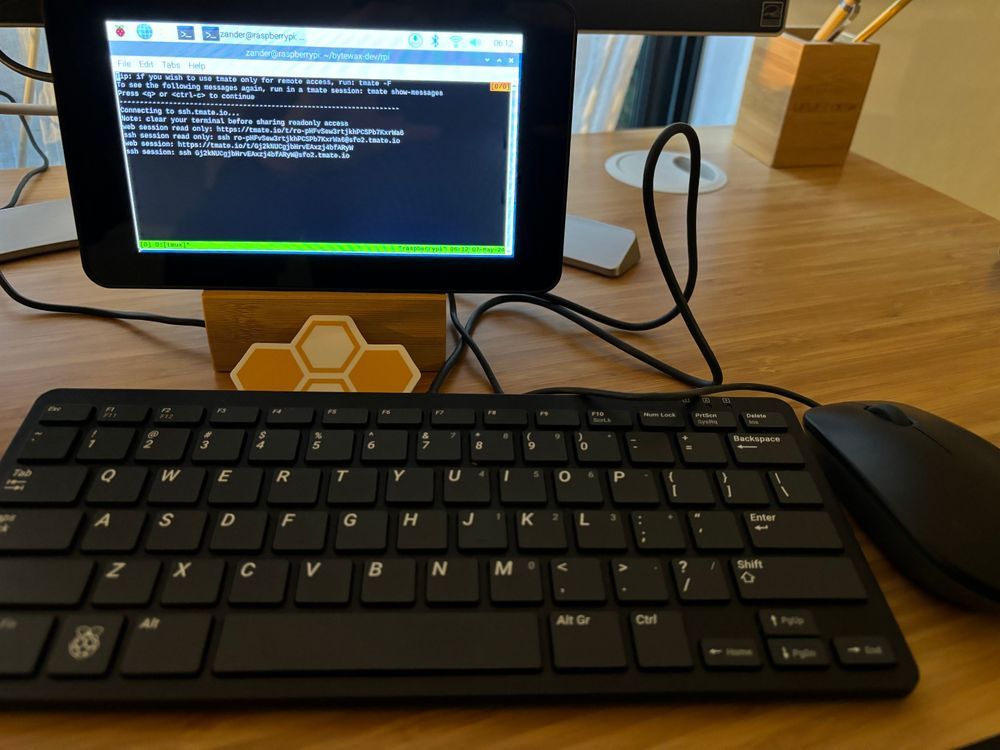
I have an old Raspberry Pi 3 lying around that I previously used for a weather app that was displayed on a touch screen. I had wanted to try running Bytewax on it for fun for a number of months, so I toook this hackday as an opportunity to try it out. My Raspberry Pi 3 has 1 GB of ram, so not enough to run Flink, which requires 1.5GB, but plenty for Bytewax!
I took out my Raspberry Pi and blew the dust off to see what I was dealing with. Unlucky for me I had a very outdated OS (Jessie) so step 1 was getting the most recent OS flashed on an sd card so I could get going. I didn't have anything I wanted to hoard I mean save, so I flashed the card that was already in use. I was able to download and install the image utility that was launched in 2020 and didn't exist the last time I used this. It's a game changer to say the least. Especially for us Mac users.
The rest was fairly easy!
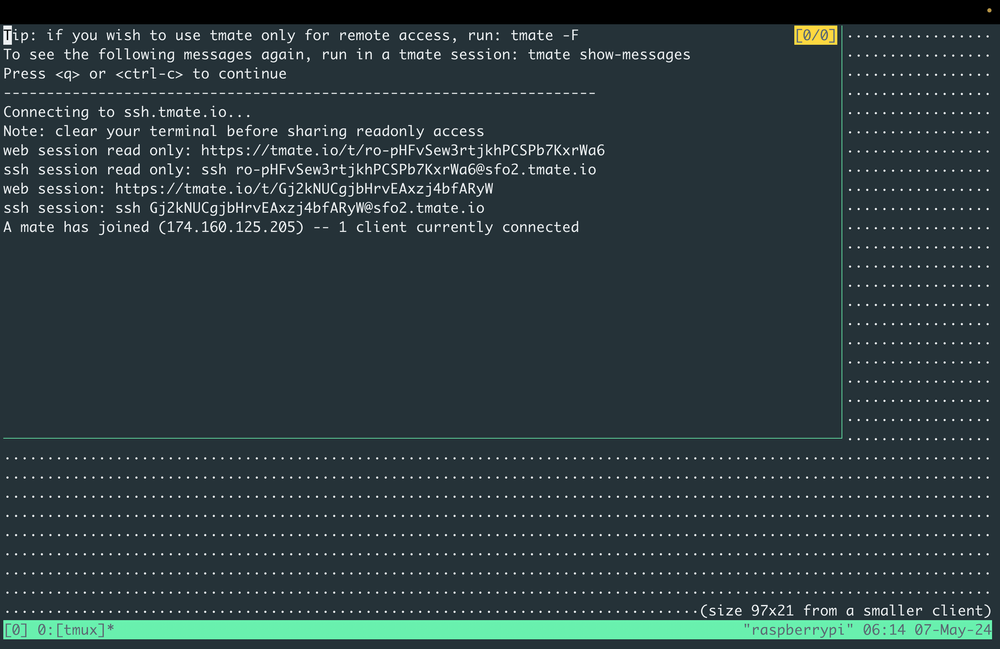
To facilitate development, I opened a handy tmate session on the Raspberry Pi so I could connect to it remotely. I used to use this all the time when GitHub actions came out so I could troubleshoot my action. If you haven't you should check it out! tmate GitHub Action.
Setting the Environment Bytewax
Lucky for us the Raspberry Pi OS ships with Python ✅
And my install had Python v3.10 installed ✅
All I needed to do was create a virtual env, which I used venv to do:
python -m venv rpi-venv
source rpi-venv/bin/activate
Now we can install Bytewax.
pip3 install bytewax==0.19.1
With those installed, we can download and run a simple dataflow from the Bytewax repo.
wget https://raw.githubusercontent.com/bytewax/bytewax/main/examples/basic.py
python -m bytewax.run basic.py
Using Waxctl
It's also easy to run Bytewax dataflows with waxctl. You can even run remote files, which is handy with local devices.
wget https://downloads.bytewax.io/waxctl/0.11.0/waxctl_0.11.0_linux_arm.tar.gz
tar -xvzf waxctl_0.11.0_linux_arm.tar.gz
Now we can run something a bit more advanced and we can scale things up on our Raspberry Pi. We will use the wikistreams example from the Bytewax repo.
pip3 install aiohttp-sse-client
./waxctl run https://raw.githubusercontent.com/bytewax/bytewax/v0.19.1/examples/wikistream.py -p2
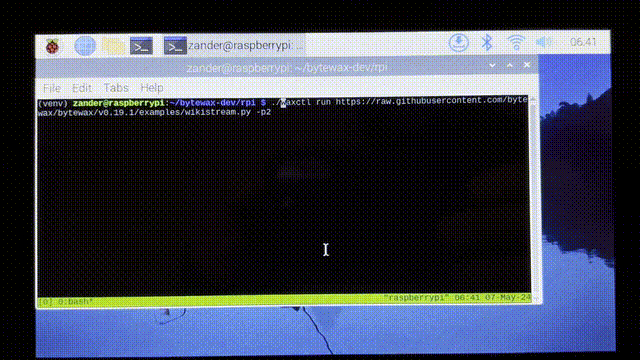
That's it, your processing streaming data on your Raspberry Pi!
Are you building something cool? Let us know in Slack! And don't forget to show your support with a ⭐️ on GitHub.
Stream Real-Time Stock Prices and Analyze Them with Numpy

Zander Matheson
CEO, FounderZander is a seasoned data engineer who has founded and currently helms Bytewax. Zander has worked in the data space since 2014 at Heroku, GitHub, and an NLP startup. Before that, he attended business school at the UT Austin and HEC Paris in Europe.
Transforming Energy Monitoring with Modern Stream Processing
Other posts you may find interesting
View all articles
Building Real-Time RAG for Financial Data and News
Learn to create effective RAG pipelines for financial data in our workshop with Microsoft and Unstructured.
Written by Anastasia Khomyakova & Laura Funderburk